Here are some simple-to-follow tutorial videos to help you get started. We don’t have sound on these so you can listen to some fun music while you get your organisation setup on PlaySport!
Note: These were done in real time. So it might take you a bit longer first time around, but in ~10 minutes, you can watch the flows to-
- ✒️ Sign up as an Individual
- 🏫 Create your Organisation
- 🏃Create an Experience
- 📆 Add Sessions under that experience
- 📰 Create & publish a News Post
- 👯♀️ Invite Members
- 💬 Send a Chat Message
Sign up as an Individual (1:17) #
You need to sign up as an individual before creating or claiming your organisation on PlaySport – this is so we know who is administering each Organiser account. Creating your personal PlaySport account is an easy and snappy process:
Create your Organisation Profile (2:07) #
Your Organisation’s profile is your front door on PlaySport. With your profile, you can help users learn more about who you are, what experiences and activities you have, share all your exciting news, keep your community up-to-date and communicate directly with members and non-members.
PlaySport’s users opening your front door is the key to growing your participation!
Pro Tips:
- Address You need to input an address, if you run a remote business or don’t have a fixed location you can select a commonly used park or area. It’s best to choose one that will show up in our Activation PlayLists, so pick a spot within your Local Government Area.
- Banner Image Specs For best results, use an image with a 3:1 width to length ratio and a resolution above 150ppi.
- Associations You don’t need to have an association linked, but it’s a credibility marker if you are a member of an Association to link them to your profile page. If you can’t find the Association page you are looking for, email us at [email protected] and we will help you out.
Create an Experience Profile (2:02) #
An ‘Experience’ is any type of activity that your Organisation runs. This can be an event, a tournament or a simple recurring class:
Pro Tips:
- Experience Profiles and Sessions An Experience profile needs to be created before you can set u sessions or schedules underneath each Experience. The profile page of an Experience is what is visible to users during discovery or search on PlaySport.
- Banner Image Specs For best results, use an image with a 3:1 width to length ratio and a resolution above 150ppi.
- Types of Experiences
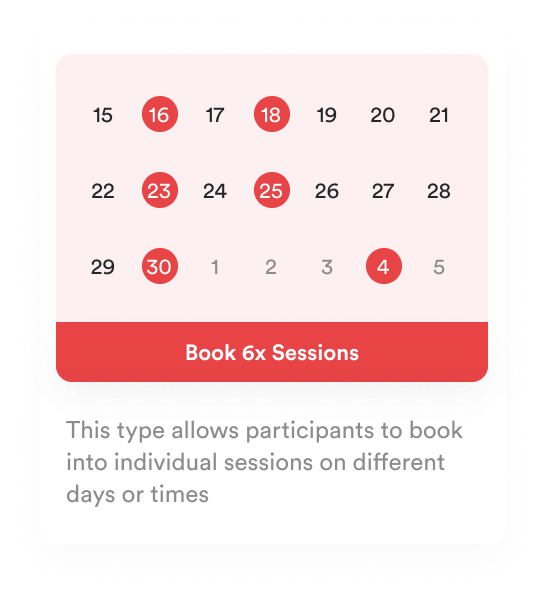
- Class: An Experience to teach and guide the practice of a Sport. e.g yoga classes or dance studio times.
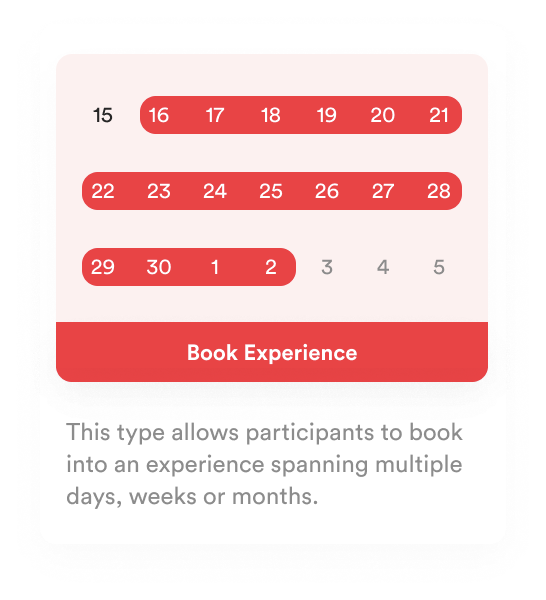
- Activity: This option is best used for an Experience which spans over a number of weeks e.g rugby season.
- Event: A small or large scale Event which is a one off day or occurs over a selection of days.
Activities and Events
Classes
Adding Sessions to your Experience (1:56) #
Sessions are the time-slots that make up your Experience’s schedule:
Pro tips:
- Multiple Sessions You can have multiple sessions set up underneath each Experience profile. You can have a paid Experience and use PlaySport as your registrations and payments tool, though the example above is a simple free Experience. If you would like to use our registrations and payments tool for paid Experiences please get in touch with us at [email protected]
- Instructors You can assign an instructor per session on PlaySport as long they have signed up and have an account on PlaySport. You can also add yourself as an instructor.
Creating a News Post (1:39) #
News posts are a great way to share updates and news about your Organisation, Experience, partners and more. They are also a great medium to keep your community up to date on all your activities or notify them of important updates.
Pro tips:
- Sharing Sharing News Posts is a great way to attract the attention of a broader audience to your existing member base. You can share a News Post by clicking on the Menu button (•••) on the top right of the post and then click Share.
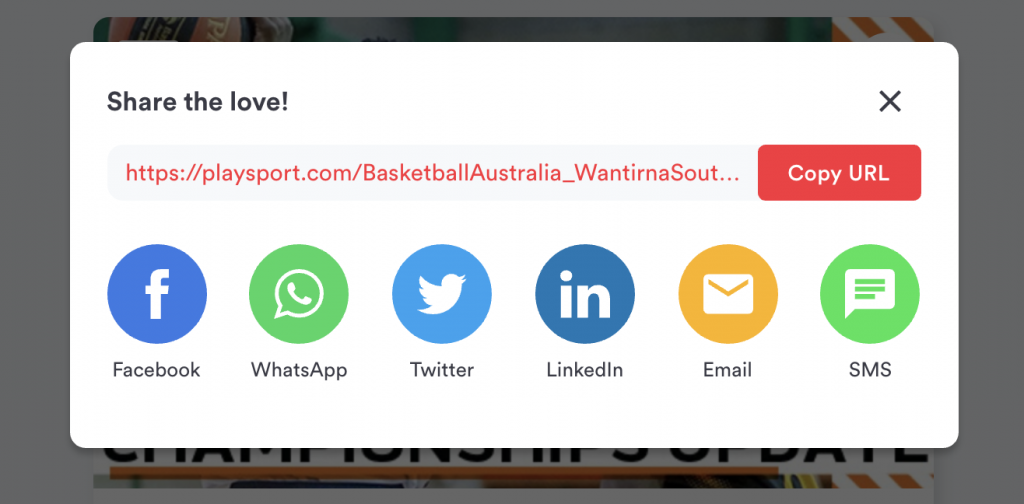
- Experience Link
This allows you to promote a specific Experience underneath the News Post. You can then share your News Post on your social channels to draw more people into your Experience.
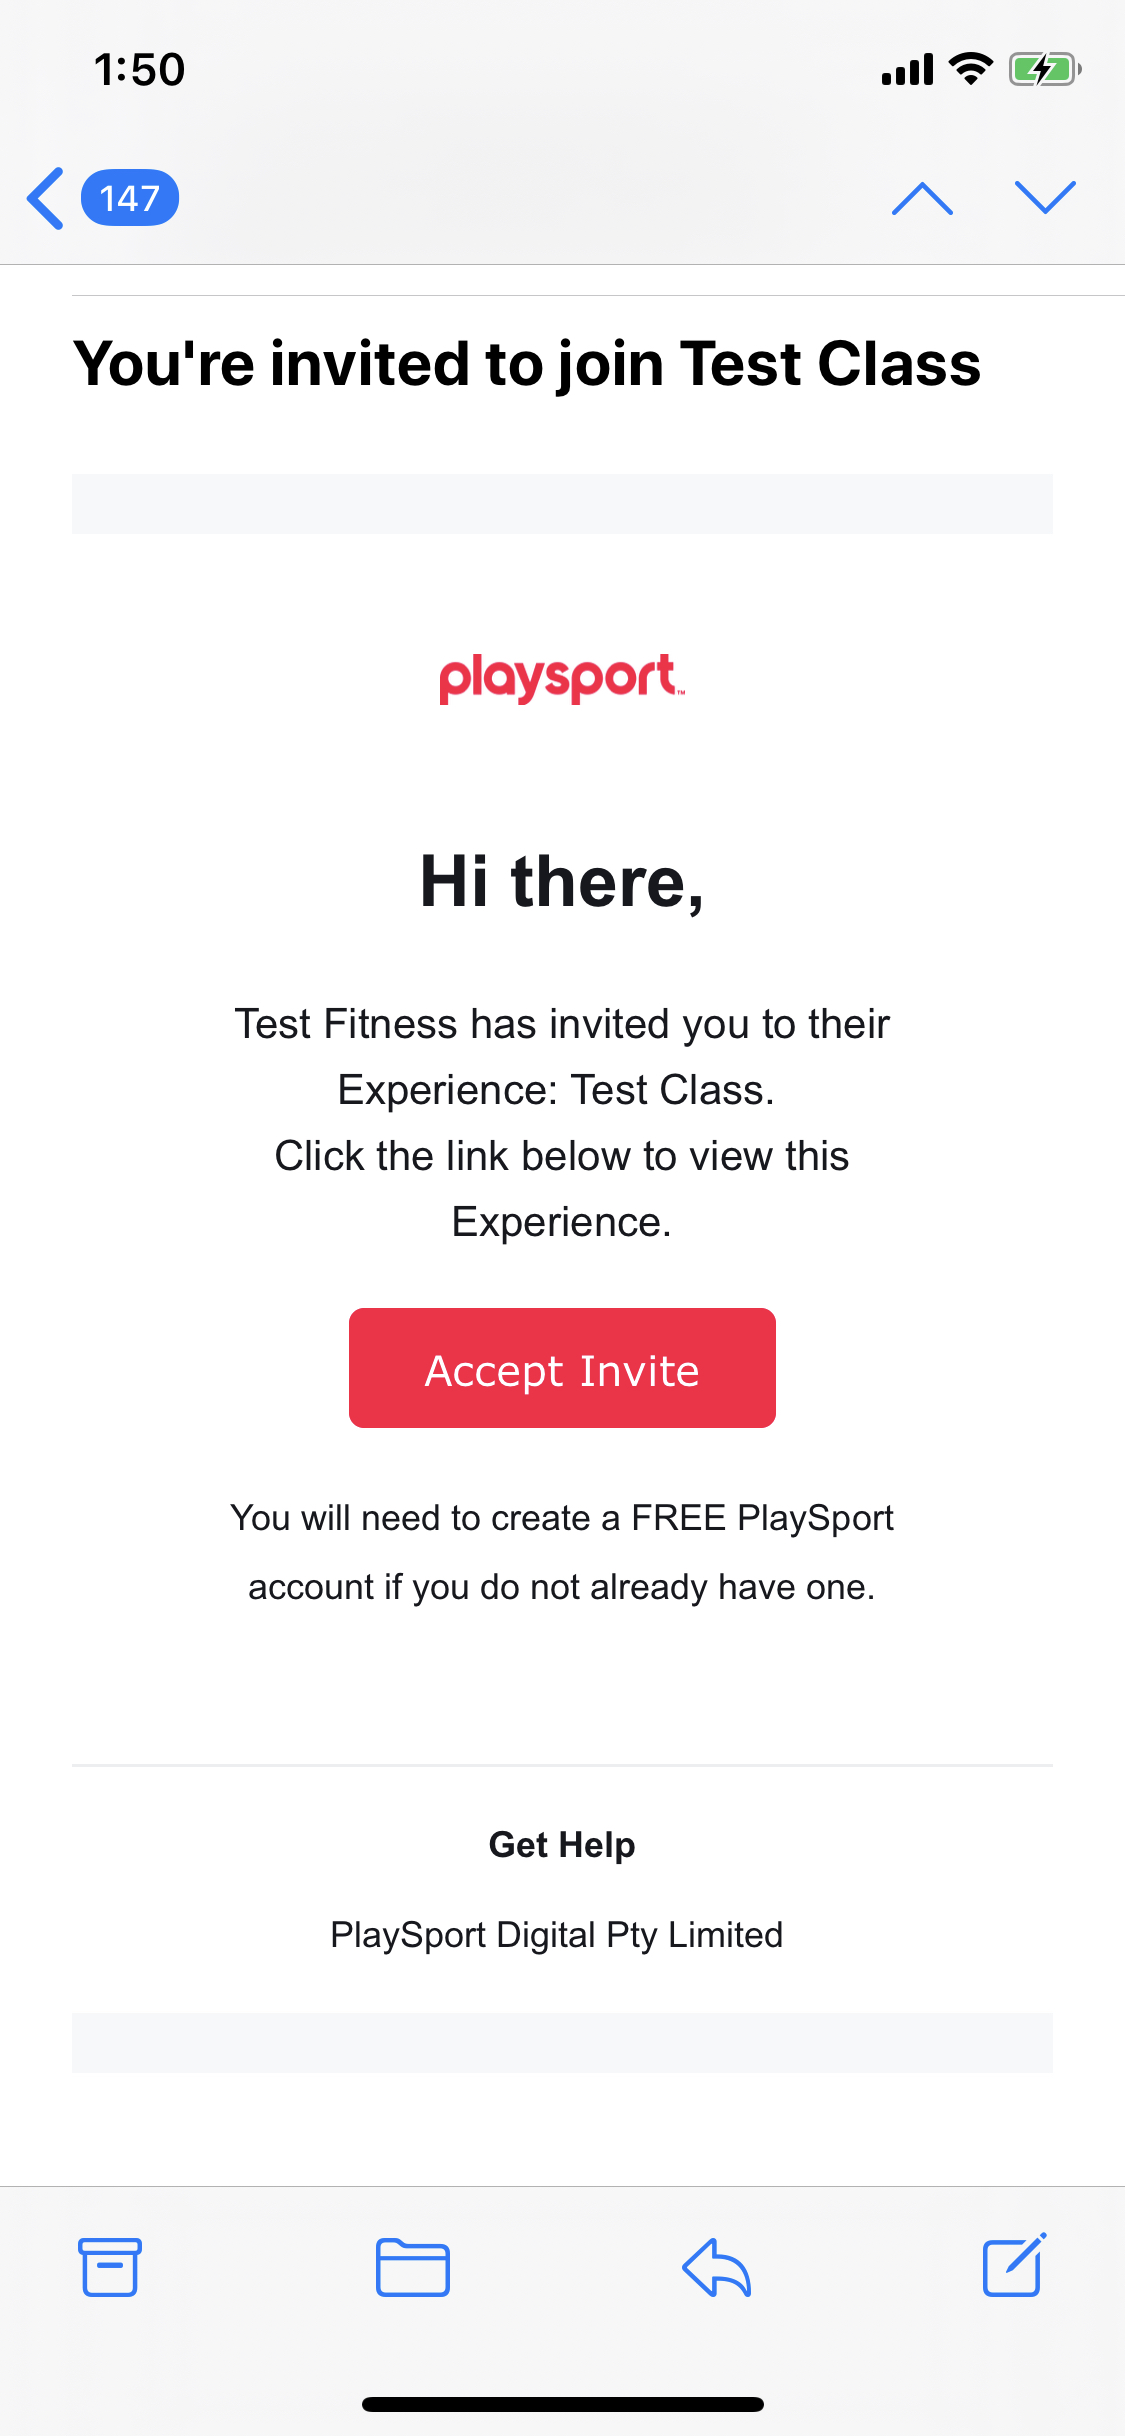
Inviting Members (0:44) #
You can invite your members to be a part of your Organisation on PlaySport. You can manage all your members using the Member Table and also view the various ways they have engaged with your Organisation on PlaySport.
Pro tips:
Invite to a specific Experience:
You can invite members directly to a particular Experience. This will add them as a participating member under the Members section of your Experience’s Dashboard.
Note: Members will be added to your Organisation’s Member Table as an active Member only after they have registered into an experience hosted on PlaySport.
Send a Chat Message (0:29) #
You can communicate with your members directly on PlaySport using PlaySport Chat. Here, you can send direct messages or create a group chat to message multiple members at once. This allows you to communicate with your community as the admin of your Organisation or even an Experience:
Pro Tips:
Chat is always more fun when you have members – this example is using the same newly created account with no members. Once you have members, you can send group chats or individual chats- it’s up to you. You can also chat as an individual or as an Organiser. Just use the toggle on the top right corner to switch between profiles.
- Message directly from the Member’s table
You can also message members directly from the Members table. You can filter your members across various traits, select the members you want to add to a group and then message them all in one flow.
Legend! You made it to the end.
All the best with your organisation and if at anytime you need a hand, reach out to us at [email protected]


